
Animating Deformers | Adding Controllers (Set Driven Keys)
The following movie explains the process of creating and using a non-linear deformer, the bend deformer:
You can stack multiple non-linear deformers and they will all work on top of each other. The result will depend on the order in which they are applied. Unfortunately the easiest way to change that order is by deleting the deformers and then re-create them in the right (the preferred) order. To delete a deformer, select the deformer handle (in the outliner) and hit delete.
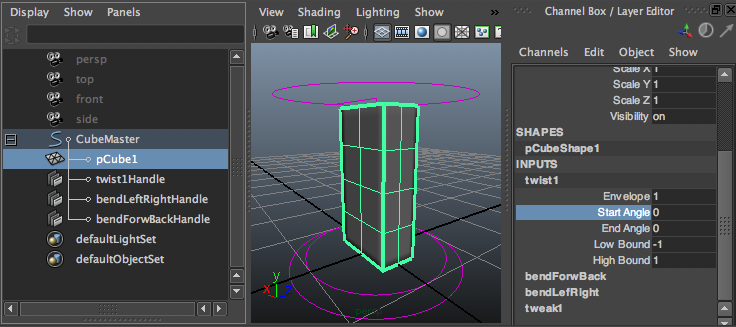
The image above show the cube set up with three deformers. Note that you can get to all parameters by selecting the cube and look under Inputs in the Channel Box. Naming the deformers help keep track of what is what.
Animating the deformers
Hitting s will not animate the deformer parameters for you, it will only set keyframes on the transform channels (translate, rotate, scale). You can easily set keyframes from the channel box. Select the parameter (like ‘Start Angle” in the image above), right-click on it and select “Key Selected”. You can do the same from the Channel Box’ “Channels” menu.
Here is a jumping box
Adding a Controller using Set Driven Keys
Here is a way to add controllers to your rig. Please note that you do not need three keys (as set at 4 minutes) but that two will do nicely: