Note: this is part 2 of the Hermit Tutorial (Part 1)
Video at bottom of the page
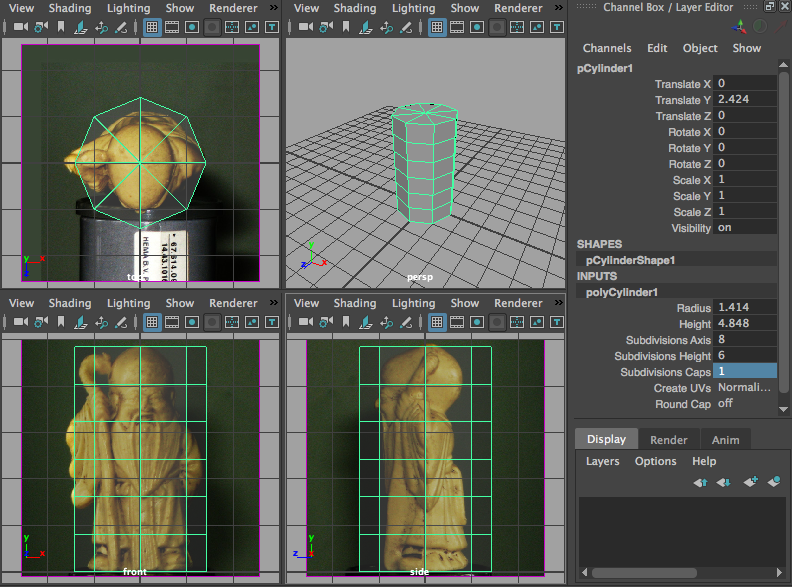
We start with a nice cylinder that fits the hermit with enough subdivisions to start but not too many so the process is not overly complicated. It is usually easier to add more geometry than to remove it, that is: remove it cleanly.

It helps to be able to see through the cylinder, so I turned on x-ray on all the orthographic views. You could choose to view them in wireframe but then you cannot clearly see where the polygons live.
In the panel toolbar:

Wireframe View

X-Ray View
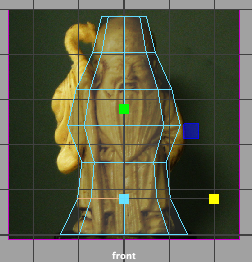
In the front view, select each horizontal edge by double clicking on one of the edges. Scale them in X (red cube, will turn yellow) to roughly fit the image.
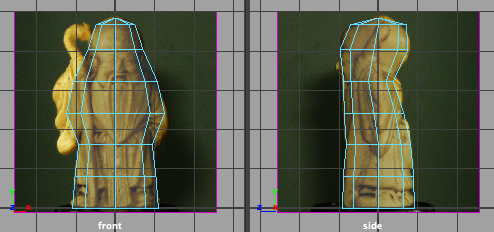
Go to the side view and do the same, you may also want to move the a little in Z. This will give us a very rough base shape.
You can pull the top edge down a little.
Now we may want to start adding geometry. But this is how you can hit the basic shape!


