
Introduction to Box Modeling Tutorial
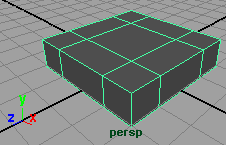
In Part 1 we created the basic geometry. Let’s add some geometry
Right Click on the object to bring up the marking menu and select Face
- Rotate the perspective view so you look at the bottom of the flat cube you created.
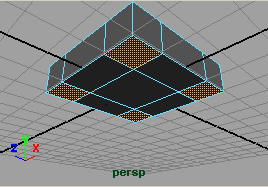
- Select the four polygons on the corners of the underside
- Click on the
 Extrude icon
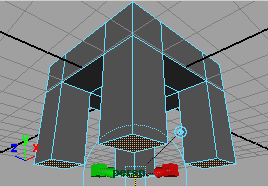
(command can be found in the Polygons menu under Edit Mesh) - Pull on the blue arrow of the manipulator that appears (the Y axis) and pull the polygons down to create the legs of the chair.

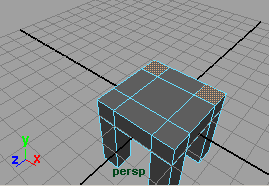
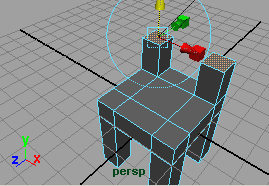
- Rotate the perspective view so you look at the top of the stool you created.
- Select (switch to select tool by hitting qthe two polygons on the corners in the back of the topside
- Click on the Extrude icon and pull on the blue arrow, pulling the polygons up a bit to create beginning of back of the chair.
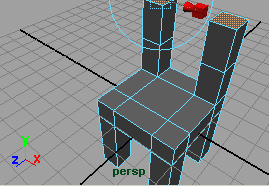
- Click on the Extrude icon again and pull the polygons up a bit more.

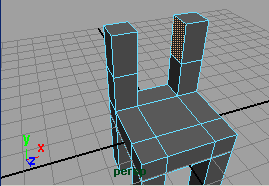
- Select the top one of the two polygons on the inside of the back-sides you just created
- Rotate your view and shift select (add to selection) the polygon facing it on the other side
- Click on Bridge

- command can be found in the Polygons menu under Edit Mesh
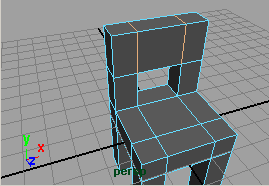
- And there’s your chair!
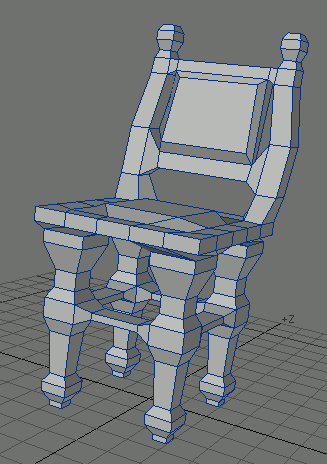
Now you could, using the same techniques, create something more fancy and show you are a great furniture designer, unlike me!